Expedy

Connect to HubRise
IMPORTANT NOTE: If you don't already have a HubRise account, start by registering on the HubRise Signup Page. It only takes a minute!
Connect Expedy
To connect your Expedy printer to HubRise, follow these steps:
- From the Expedy back office homepage, click Printers.
- If you want to rename your printer, click on the pen icon to the right of My SHOP .

- Click the Configuration icon next to the printer to connect
 .
. - Section CONNECTIONS & PLUGINS scroll down to HubRise.
- Click CONNECT HUBRISE.
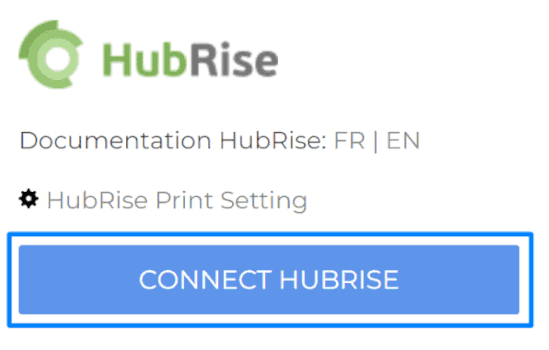
- You are directed to a HubRise user interface.
- In case of multiple locations, choose the location to connect. If the selected location has several client lists or catalogs, click Next to display the corresponding dropdown lists, then select the desired options.
- Click Allow. The connection is now established.
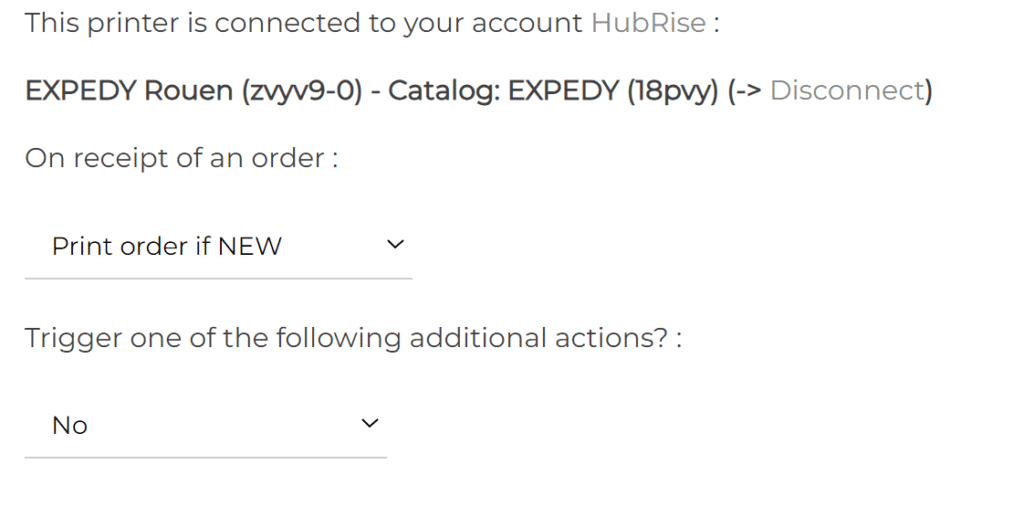
- You are redirected to the Expedy console home page and the following message is displayed.

IMPORTANT NOTE: An Expedy printer can be connected to one HubRise location only. It cannot be shared across multiple locations.
Check Connection
- From the Expedy back office homepage, click Printers.
- Click the Configuration icon next to the printer to connect
 .
. - Section CONNECTIONS & PLUGINS scroll down to HubRise.
- The mention This printer is connected to your account HubRise indicates that the connection is now established.
- Check the name of the location and the catalog you have connected.
Give Access to Expedy Support
For your support tickets to be properly handled, we advise you to give the Expedy editor access to your HubRise account.
To grant access to Expedy, follow these steps:
- From the HubRise back office, select SETTINGS in the left-hand menu.
- In the Permissions section, add
support@expedy.fr. - Click Add User.
- In the dropdown menu for selecting a predefined role, select Technical Partner.
- Click Set Permissions.
Adding a user is the recommended way to grant a third party access to your location. Sharing passwords is not recommended for security reasons.
Disconnect Expedy
- From the Expedy back office homepage, click Printers.
- Click the Configuration icon next to the printer to connect
 .
. - Section CONNECTIONS & PLUGINS scroll down to HubRise.
- Click Disconnect.

