- HubRise User Guide
- FAQs
- How Do I Connect Multiple Instances of the Same App?
FAQs
FAQsexpand_more
- What Happens If My Free Plan Quota Is Exceeded?
- How Do I Pay For My First Invoice?
- How Do I Reactivate A Suspended Account?
- How Do I Stop Paying For My Subscription?
- Can My Plan Be Paused During Setup and Test Phases?
- Too Many Accounts for My Business On HubRise. How Can I Clear the System?
- How Do I Check If I Already Have a User Profile in HubRise?
- I Lost My Password. How Do I Recover It?
- How Do I Check if the Connection Between My System and HubRise Is Working?
- How Do I Create a User Profile for Another Person?
- How Do I Create an Account for Another Business and Share Access?
- How Do I Create an Account for Another Business Without Sharing Access?
- How Do I Connect Multiple Instances of the Same App?
How Do I Connect Multiple Instances of the Same App?
In some circumstances, you might need to connect multiple instances of the same app to a single HubRise location. For example, you might have multiple stores of a food delivery platform that you want to connect to the same EPOS.
To connect the first instance of the app, see Connecting a New App. If you already connected the app, you do not need to repeat this step again.
To connect the second instance of the app, follow these steps.
- Log in to HubRise from the HubRise Login page.
- Click CONNECTIONS on the left navigation panel.
- Select View available apps.
- Select the same app you installed before, then click Connect.
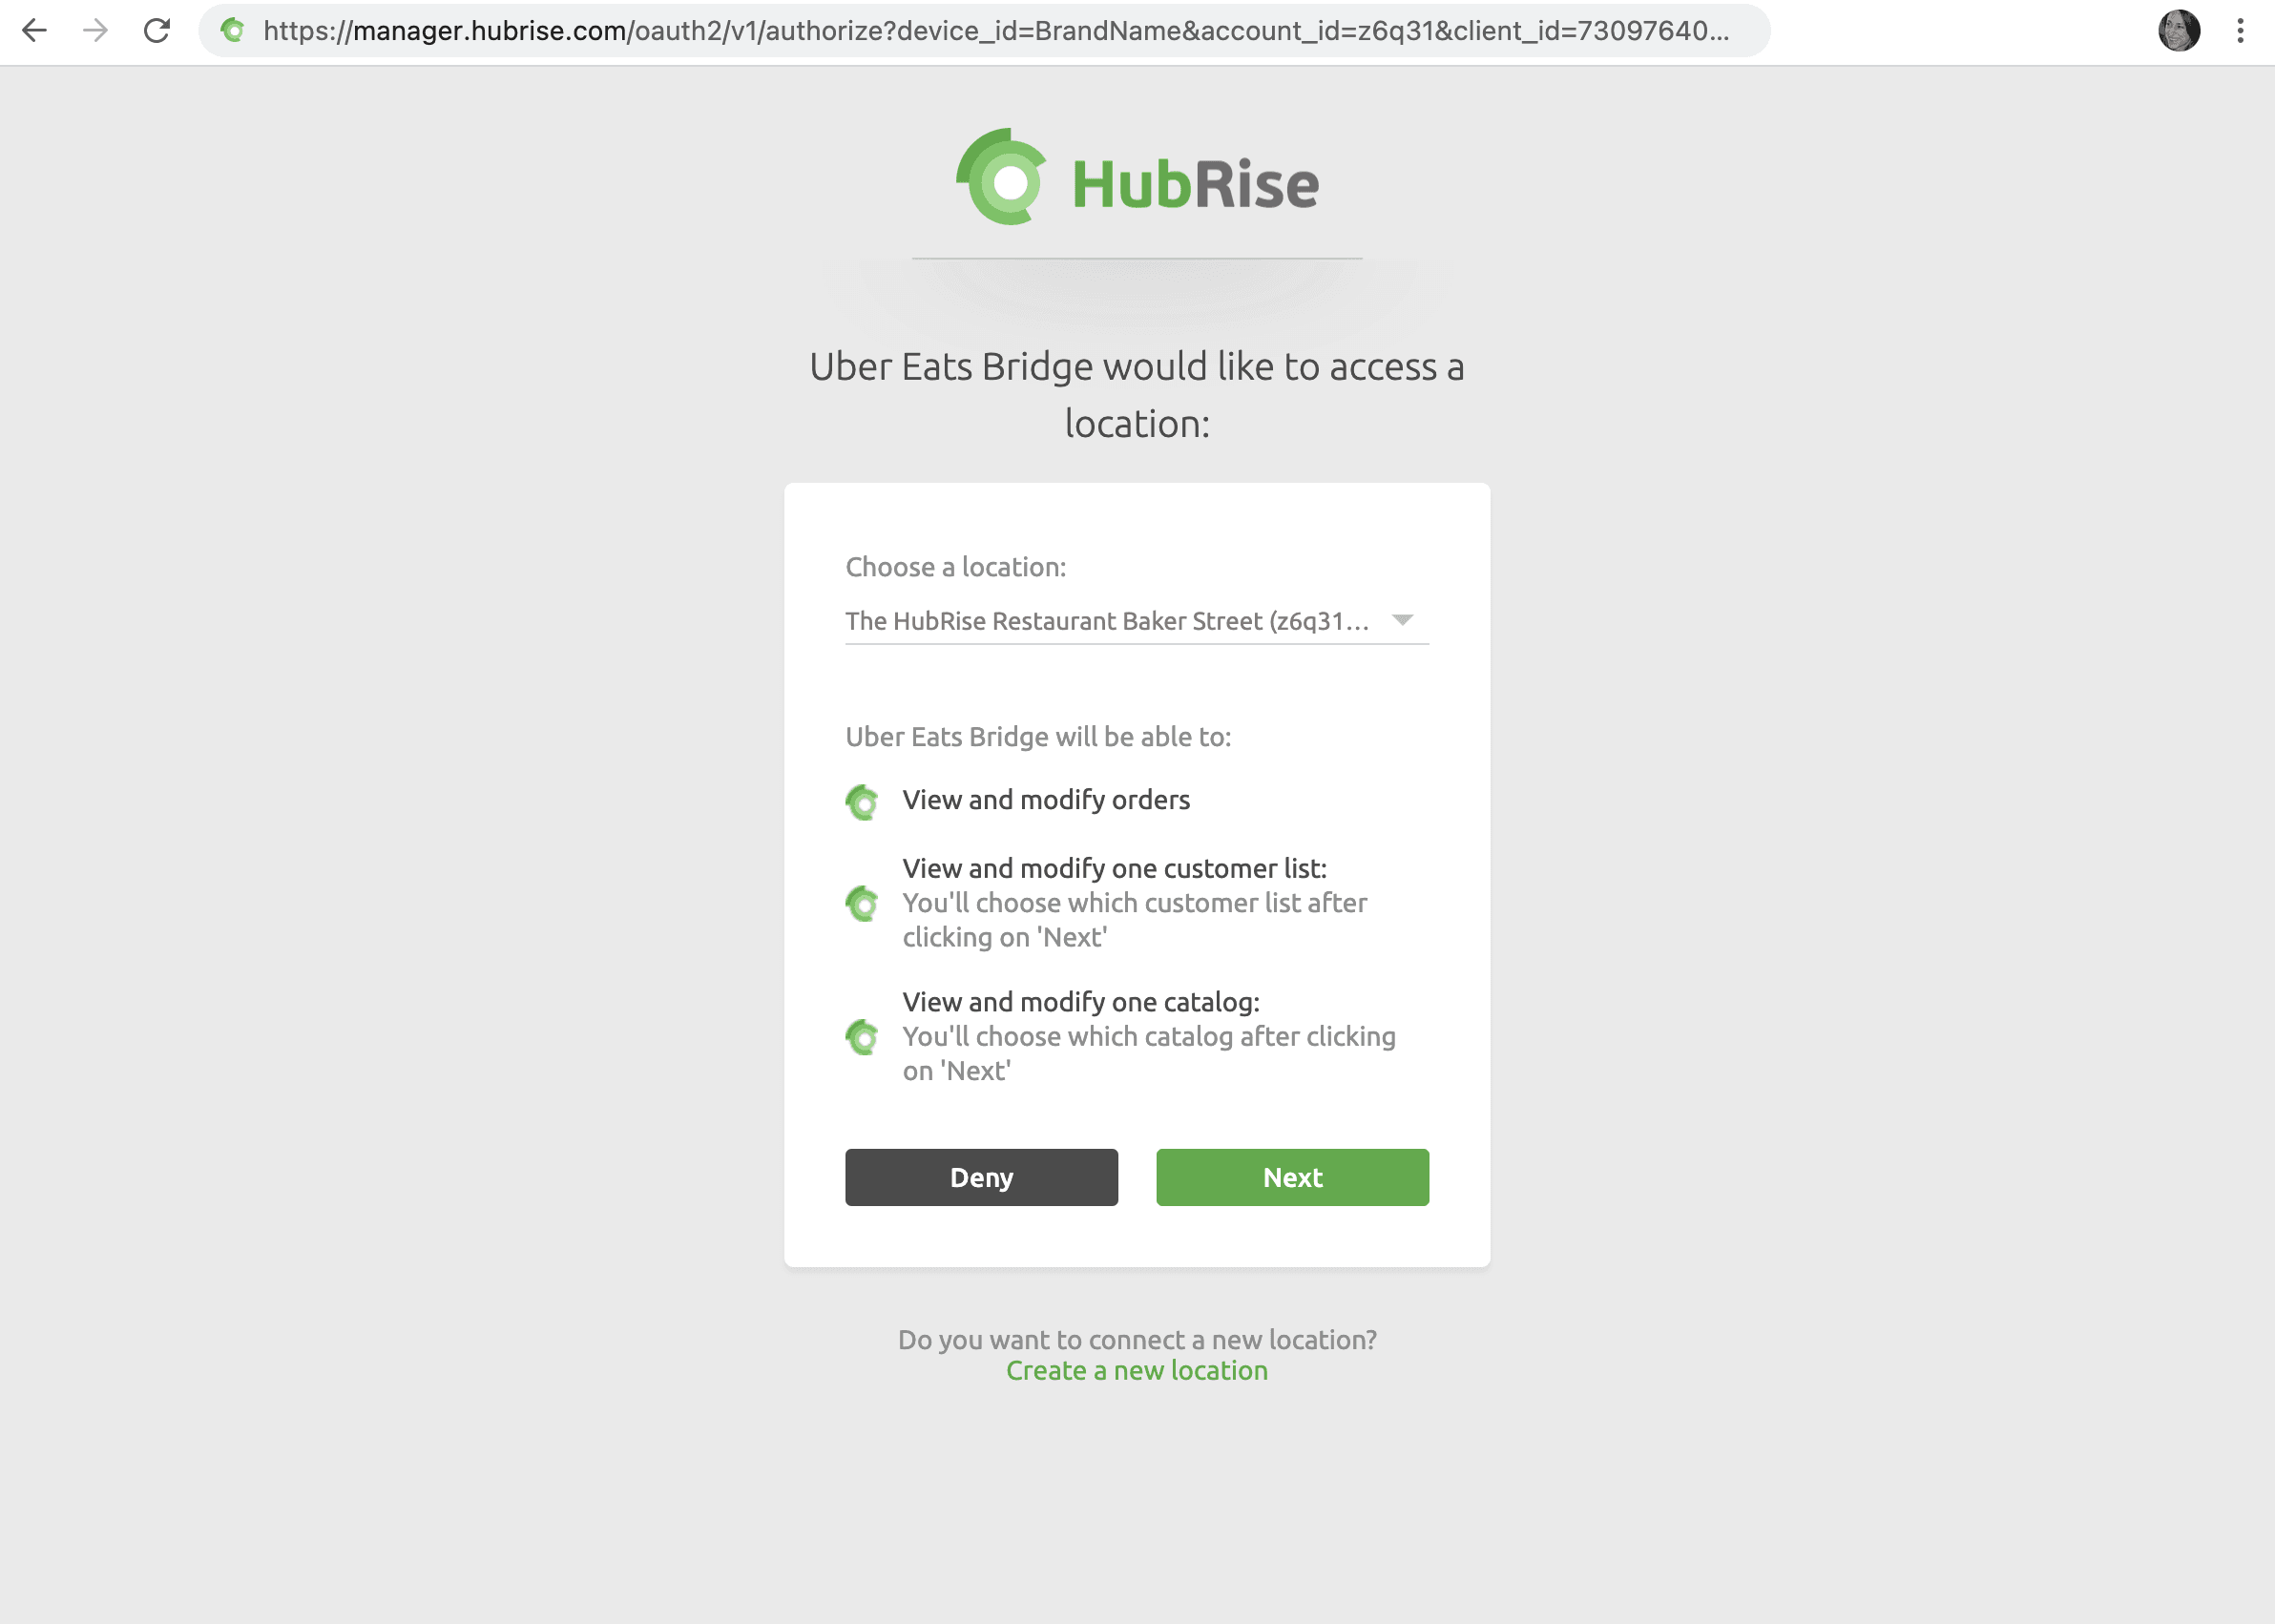
- In the authorisation page, select the correct HubRise location from the dropdown menu.
- Click on the URL in the navigation bar and include
name=BrandName&after the initial portion of the URL:https://manager.hubrise.com/oauth2/v1/authorize?, and beforeaccount_id=. BrandName withinname=BrandName&should be replaced by the name of the brand. For more information, see Naming Rules.
- Then hit the Return key on your keyboard.
- Click Allow to connect the app.
- Follow the instructions on screen to configure the new instance of the app. For more details, click the View documentation link for the corresponding app in the HubRise apps page.
If your app is not present on the HubRise apps page but connects to HubRise from its own back office, you can still connect multiple instances. All you need to do is to follow the steps above from 5 onwards when you are redirected to the authorisation page.
IMPORTANT NOTE: This process can be repeated any number of times by substituting the string name=n&, with a different value of n every time. A meaningful value for name can help you differentiate your various instances in the CONNECTIONS page. When you choose this value, follow the naming rules described below.
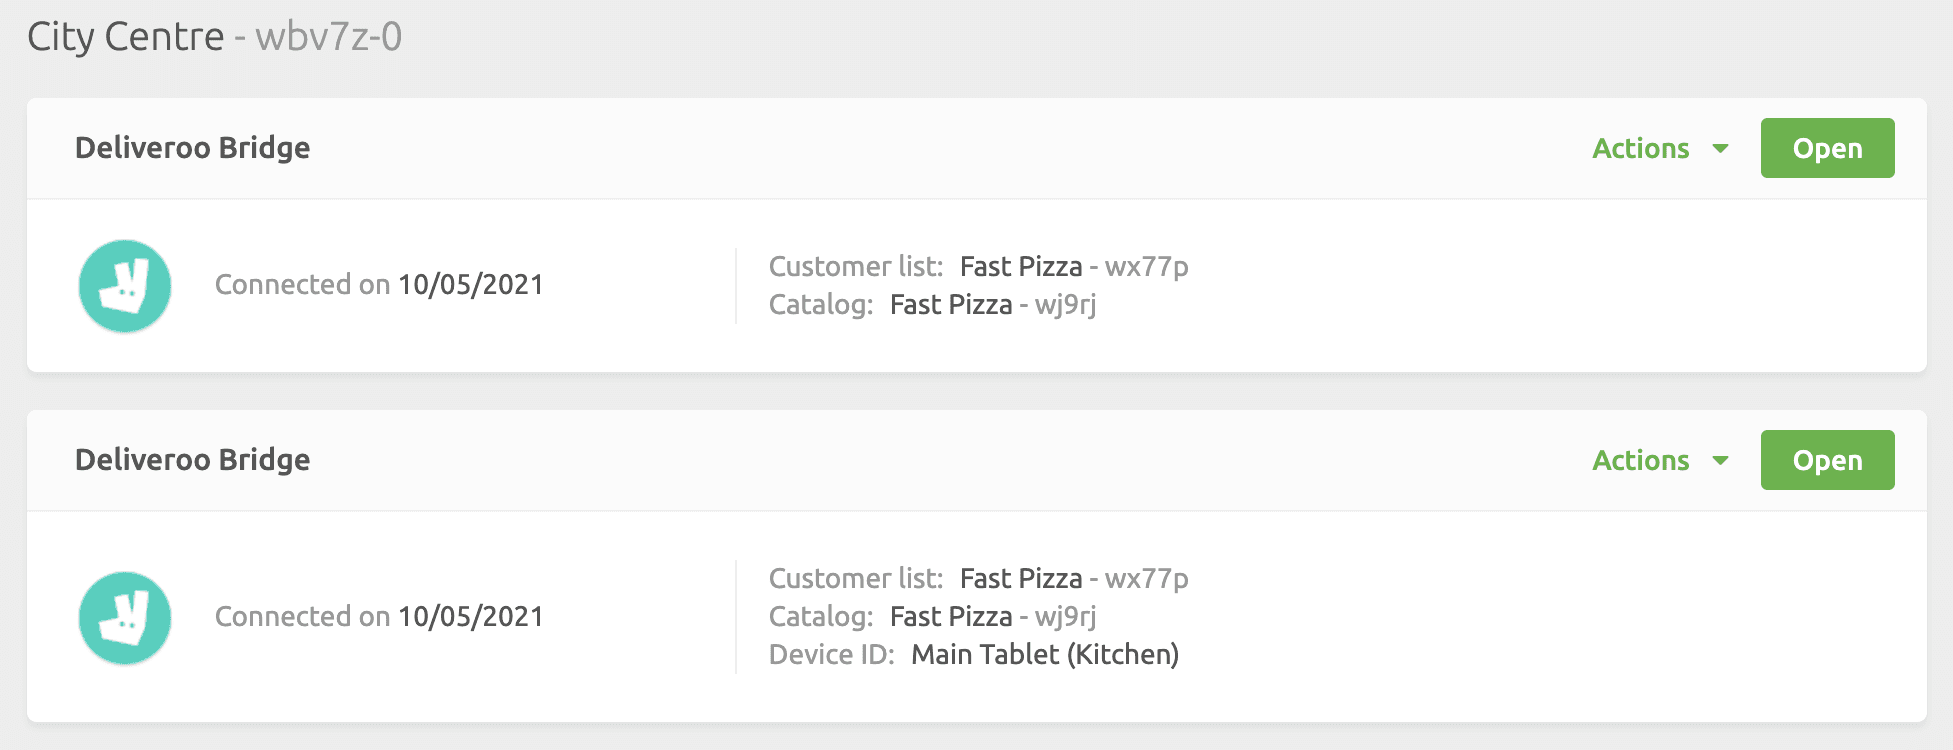
Once connected, the new instance of the app appears in the CONNECTIONS page. You will be able to distinguish the various instances by the device ID value you chose during the setup.

Naming Rules
To help you identify your app instances, you can freely choose the device ID value during the initial setup.
In name=BrandName&, BrandName can include any combination of the following characters:
- Letters, both lowercase and uppercase
- Numbers
- Underscores
- Hyphens
- Round, square, and curly parentheses
- Dots
If you need to include a space in the BrandName for more clarity, replace the space by a +. For instance, the Papa John's Morocco becomes Papa+John's+Morocco.